Okay, so check this out—I’ve been poking around Solana block explorers for years, and there’s one truth I keep running into: the ledger tells you everything, if you know where to look. Whoa! My first impression was: fast chains mean confusing data. But then I learned to read the noise. Initially I thought all explorers were the same, but actually, wait—they’re not. Some surfaces are friendly; others hide the meat of a transaction behind jargon and click-throughs.
Seriously? Yep. Solana’s transaction model is kinda unique compared to EVMs. Short explanation: parallelized execution, multiple instructions per transaction, and often several program calls bundled together. Hmm… that sounds dry, but it matters when you’re tracking token moves or debugging a failed swap. My instinct said to trust the ID and signature first. On one hand a tx might show “confirmed” quickly; on the other hand you still want to inspect the inner instructions and logs, because somethin’ funky can hide in the details.
Here’s why I use explorers every day. First, verifying a signature gives you the canonical proof a transaction occurred. Wow! Next, reading the instruction list tells you which programs executed — serum, token program, associated token accounts, or a custom program. And crucially, the logs reveal runtime errors when something went wrong. These three things together usually explain most wallet headaches.
How to read a SOL transaction without getting lost
Start with the basics: copy the transaction signature from your wallet and paste it in. Really? Yes. On a good explorer you get a clear list: signatures, status, block height, fee, and timestamp. Then look at the “Instructions” pane. Medium-level summary: each instruction shows which program was called and what it tried to do. If there’s a token move, the token program will show a Transfer or TransferChecked instruction. If you see multiple instructions from different programs, that’s when you need to slow down and parse the sequence — the order matters.
Pro tip: check the “inner instructions” and “logs.” Whoa! Those inner entries often include CPI (cross-program invocation) data that explains side-effects, like wrapped SOL unwraps or temporary account creations. I’m biased, but the log output saved me more than once when a swap failed due to slippage or when a program misread an account. Oh, and by the way… always verify the recipient address twice if you’re moving funds large amounts — double-check the mint and the associated token account. Mistakes are costly here.
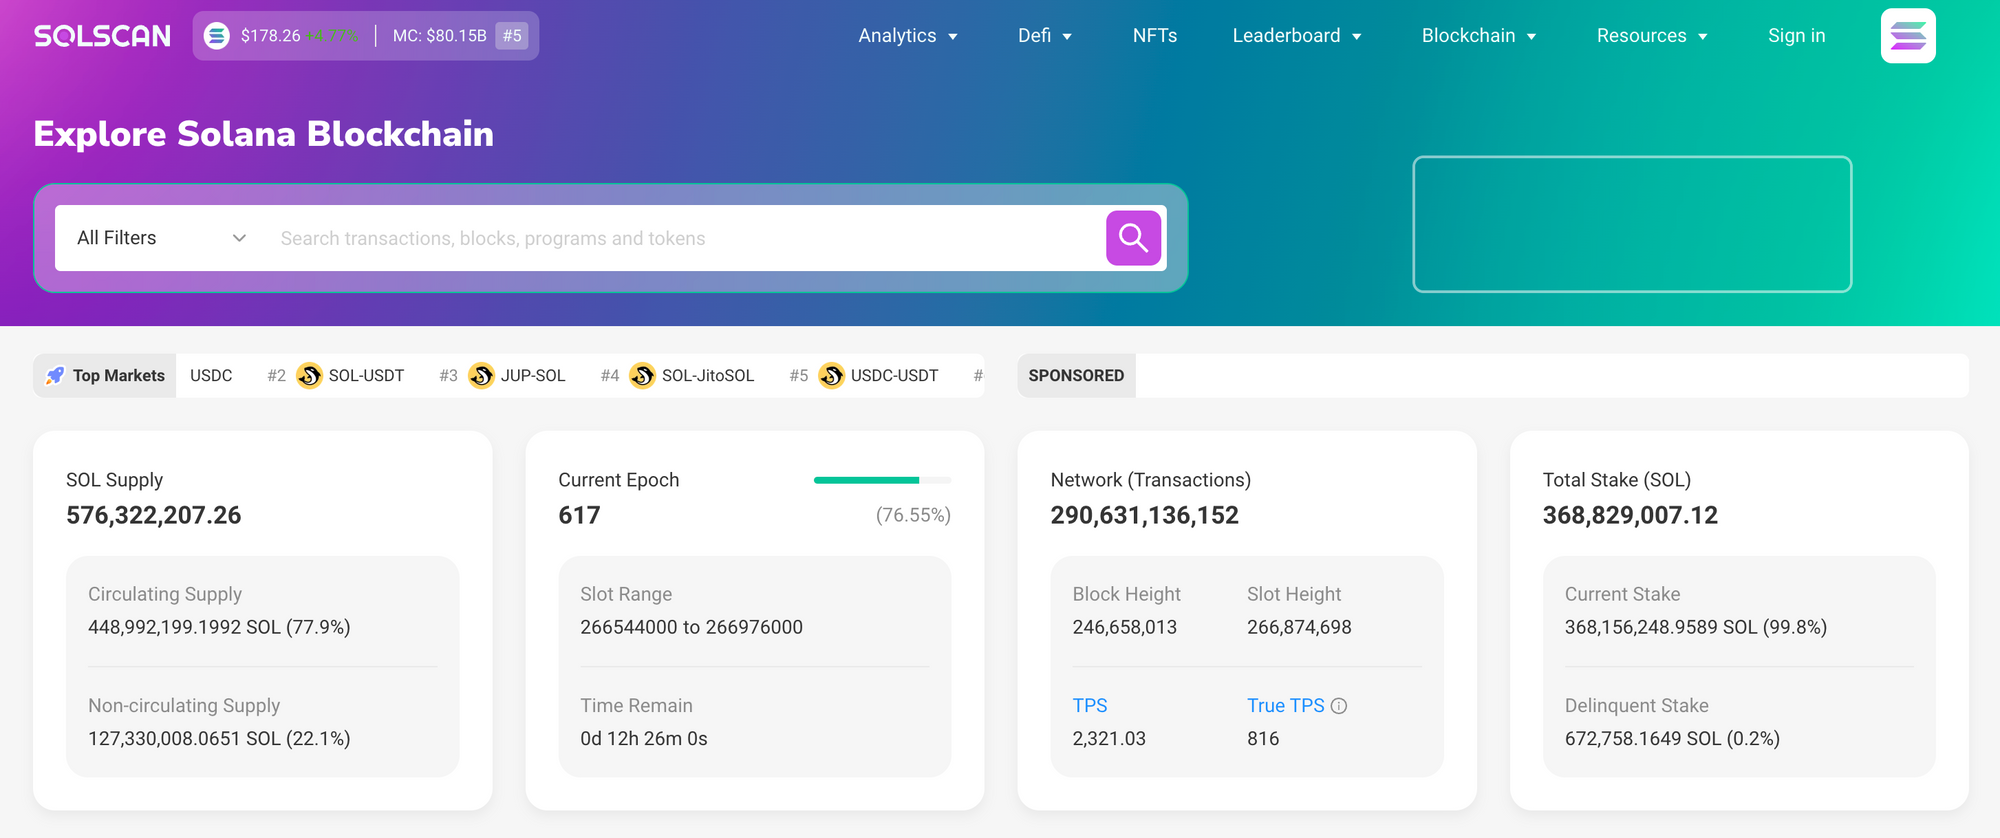
When you want a reliable, user-friendly read of all this, I often reach for Solscan. It’s polished and the UX makes digging easier without hiding technical detail. For reference, here’s the resource I go to for the interface: solscan explorer official site
Heads-up: explorers differ in how they label status. Confirmed vs finalized can be confusing to newcomers. Confirmed may still be reorged in extreme cases; finalized means the cluster consensus is baked in. Short note. Watch for cluster selection too — devnet/devnet/testnet vs mainnet-beta — because a signature on testnet doesn’t exist on mainnet. Somethin’ to keep in mind if you’re following guides or tutorials from other teams.
Okay, a few practical workflows I use. First, when a swap fails in a wallet: copy tx signature, inspect logs for “Error” entries, look for failed asserts, and check which instruction reverted. If it’s a slippage-related issue, you’ll see the pre- and post-token balances or an explicit error from the DEX program. Second, when auditing a token transfer: confirm the mint, the source and destination associated token accounts, and that the sender signed the tx. Third, tracking an NFT sale: follow the marketplace program instructions, check royalties enforcement logs, and validate the final owner address.
On one hand explorers are user tools. On the other hand they can be used for due diligence. I once followed a suspicious token’s minting and found the dev had a backdoor authority by tracing token authorities across transactions — messy, but doable. Initially I thought that would be impossible without node access, though actually the public ledger gives you most of what you need if you can parse it. Don’t be afraid to dive deep; sometimes the simplest log line tells the whole story.
Technical caveats. RPC nodes sometimes lag; so if a tx is missing, try another endpoint or wait a few seconds. Also, decoding custom program data can require client-side knowledge or the program’s IDL — some explorers attempt to decode known programs, but not all. Seriously—if you’re working with a bespoke program, expect to do a bit of manual interpretation. There’s no magic button for proprietary encodings.
FAQ
Q: How do I verify a transaction came from my wallet?
A: Check the signature and the “signers” field in the transaction details. If your public key appears as a signer, you authorized it. Also review the fee payer; sometimes different accounts pay fees. If you’re not 100% sure, export the raw transaction from your wallet and compare the signature bytes.
Q: Why does my token transfer show up differently on two explorers?
A: Explorers parse and present data differently. One may decode inner instructions or show token previews, while another shows raw program calls. Also, cluster selection or RPC lag can cause temporary inconsistencies. Refresh, switch clusters, or try another RPC if things look off.
Q: Can I rely on block explorers for security audits?
A: They’re useful for quick checks and transaction-level forensics. But for deep audits you need on-chain history plus program analysis, source code review, and ideally dev collaboration. Explorers are a start — a forensic lens — not the full audit toolset.